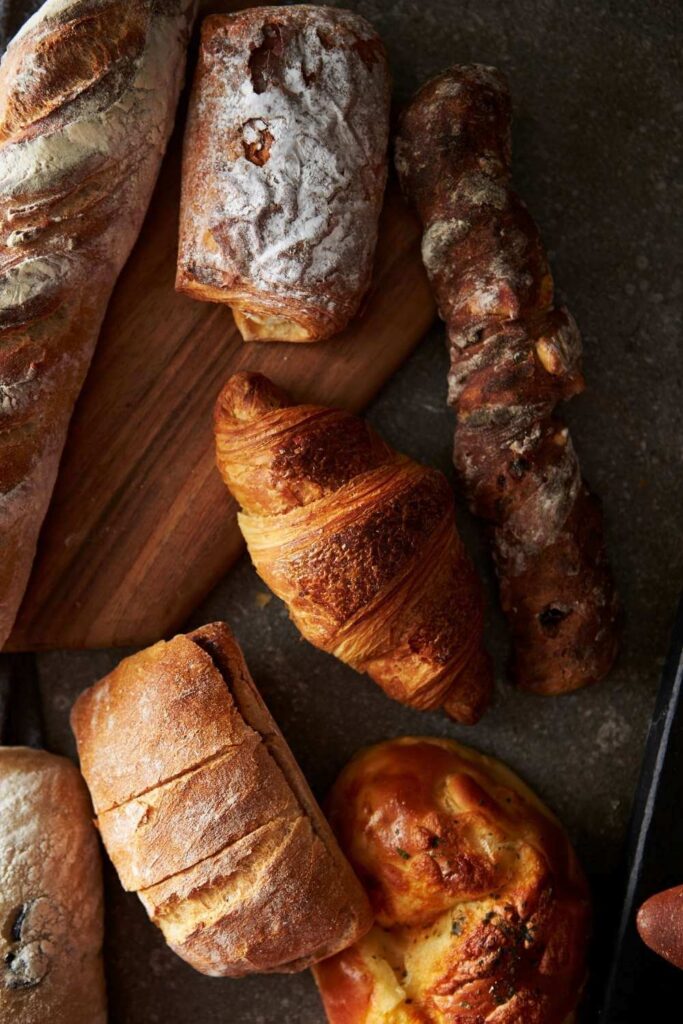
Even if you’ve never made homemade bread or worked with yeast before, Jamie Oliver crusty bread recipe is for you. It’s the ideal beginner recipe because it only requires four ingredients, no special pans or mixer, no kneading or complicated shaping, and 95 percent of the work is done by machine.


Why You’ll Love This Bread
- It’s a lot simpler than you think.
- flavorful + soft
- The crust is chewy and somewhat crunchy.
- Make it anyway you like.
- There is no need for any specific pans, poolish, or dough beginning.
- There are only four components.
- You get to choose how long it rests.
What is Homemade Jamie Oliver Crusty Bread?
When it comes to bread, the term “artisan” does not have a single meaning however, Jamie Oliver Crusty Bread is typically handmade, fresh, crusty, and charmingly rustic in appearance. An artisan is a skilled worker who uses their hands. However, there isn’t much work needed for this recipe.
Ingredients That you’ll need:
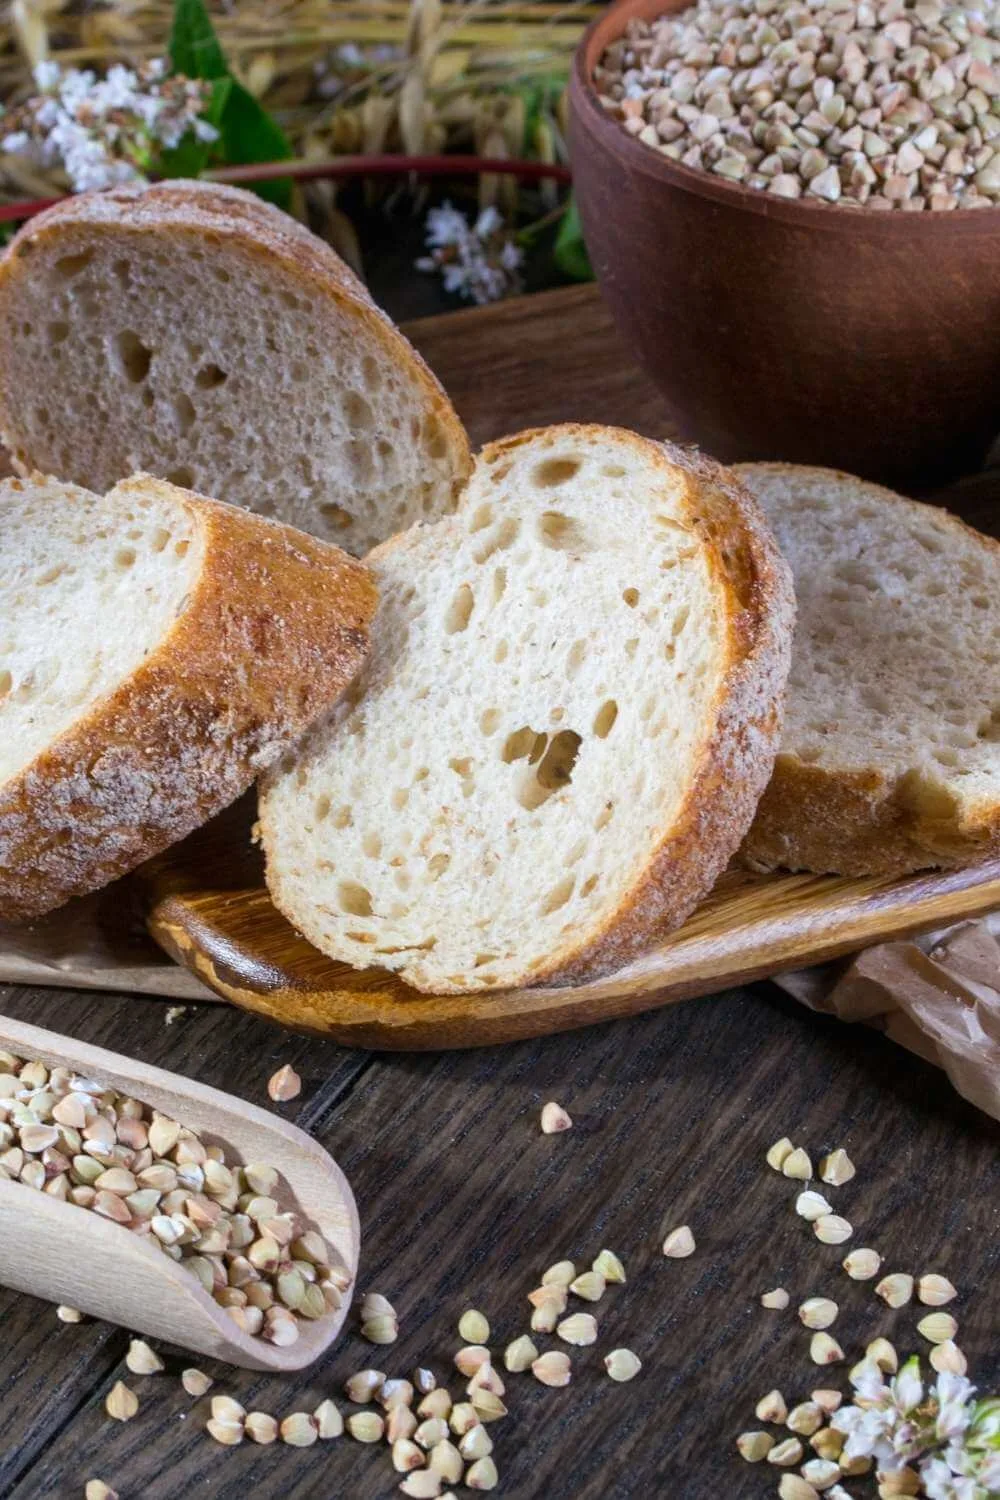
- Bread Flour: While all-purpose flour can be used in this Jamie Oliver recipe, I strongly prefer using bread flour. Bread flour provides a stronger, chewier bread, which makes a tremendous difference in a recipe that only has three other components.
- Instant yeast: is essential in this Jamie Oliver recipe. While active dry yeast can be used if that’s all you have, any rapid rise or instant yeast will yield tasty results in a short time. At room temperature, the doughs rest and rise. However, for greater flavor and the same amount of rising, I use more yeast and chill the dough. (The fermentation process is slowed by cool air.)
- Salt: You can’t create delicious bread without it, and for the greatest flavor, use a grain of coarse salts, such as coarse sea salt. With standard table salt, I find the taste of the bread to be missing.
- Water: I usually recommend using a warm liquid with yeast since it helps the yeast work quicker. However, in this case, use cold or room temperature water. It’s not freezing cold, but it’s also not overly warm-cool to the touch. 70°F (21°C) is ideal, although the precise temperature is unimportant as long as it is neither hot nor heated. The colder the water, the longer the dough takes to rise and, in most cases, the greater the flavor of the bread. (This is significant because there are so few ingredients to create a big taste!)
- Optional Cornmeal: A dusting of cornmeal on the bottom crust gives a burst of flavor and a little crunch. This is entirely optional. Use it if you have it. Don’t be concerned if you don’t have it.
How To make Jamie Oliver Crusty Bread?
- Whisk together the flour, yeast, and salt in a large un-greased mixing basin. Pour in the chilly water and stir gently with a rubber spatula or wooden spoon. The dough will appear dry and shaggy at first but continue to mix it until all of the flour is soaked. If necessary, work the dough components together with your hands (as seen in the video lesson above). The dough will be quite sticky. Form a ball in the bowl as best you can.
- Cover the dough securely with plastic wrap or aluminum foil and place it on the counter to cool (any regular room temperature will suffice!). Allow for a 2-3 hour rising time. The dough will nearly double in size, adhere to the edges of the basin, and be brimming with air bubbles.
- You can proceed to step 4 right away, but for the greatest flavor and texture, let this rising dough rest in the refrigerator for at least 12 hours and up to 3 days. Refrigerate the dough, covered, for 12 hours to 3 days. I normally leave it in the fridge for approximately 18 hours. During this time, the dough will bubble up, although it may begin to deflate after 2 days. That’s perfectly normal and nothing to be concerned about.
- Lightly flour and/or cornmeal on a big nonstick baking sheet (with or without rims, but make sure it’s nonstick). Place the chilled dough on a floured work surface. Cut the dough in half using a sharp knife or bench scraper. As you work with it, some air bubbles will collapse. Place the dough halves on the baking sheet that has been prepared. Shape the dough into two long loaves approximately 9 inches long (they don’t have to be precise) and 3 inches apart, using floured hands. Allow resting for 45 minutes after loosely covering. The dough will be baked on this prepared baking sheet. If you wish to use a pizza stone, see the recipe note.
- Preheat the oven to 475°F (246°C) throughout this 45-minute period.
- When ready to bake, score the bread loaves with three slashes, about 1 inch apart, using a very sharp knife or bread lame (some even use kitchen scissors).When ready to bake, score the bread loaves with three slashes approximately 1/2 inch deep with a very sharp knife or bread lame (some even use kitchen shears). (“Score” refers to a shallow incision.) If the formed loaves smoothed out during the 45-minute baking time, use greased hands to re-narrow them along the sides.
- Optional extras for a slightly crispier crust: After preheating the oven and scoring the bread, set a shallow metal or cast iron baking pan or skillet on the lowest oven rack (I generally use a metal 913 baking pan). Pour 3-4 cups of hot water into it carefully and rapidly. Place the scored dough/baking pan on a higher rack and close the oven fast to trap the steam within. The steam aids in the formation of a crisper crust.
- Place the shaped and scored dough (on the flour/cornmeal-dusted pan) on the center rack of a preheated oven. Bake the crust for 20-25 minutes, or until golden brown. Tap the loaves gently– if they sound hollow, the bread is done.
- Allow the bread to cool for at least 5 minutes before slicing and serving. Leftovers can be kept at room temperature for up to 5 days or refrigerated for up to 10 days.
Recipe Tips
- Flour: strongly recommend using bread flour for the finest taste and chewy texture. In a pinch, you may use a 1:1 substitute of all-purpose flour with no further adjustments to the recipe. In this dough, I recommend eliminating whole wheat flour. Use half bread flour and half whole wheat flour if necessary. The bread will have a thick flavor.
- Yeast: You may use either instant or active dry yeast, although I suggest instant (also known as “fast rise” or “quick rise” yeast). The bread will rise more quickly. I normally use Red Star Platinum yeast, which is an instant yeast. 2 teaspoons equals around half a standard packet. There are no adjustments to the recipe if you use active dry yeast. The increase Step 2’s rising time may be longer.
- Salt: In this bread, use a coarse salt, such as coarse sea salt. When I use standard table fine salt, I find the flavor to be slightly missing. Reduce to 1 and 1/2 teaspoons if you only have fine salt.
- Water: Cool water should be used. 70°F (21°C) is ideal, although the precise temperature is unimportant as long as it is neither hot or heated.
- Round Loaf: If you wish to make a boule (round loaf), simply form the dough into a round ball instead of two loaves in step 4. The baking methods are the same, however the loaf will take a few minutes longer to bake. See the following section if you wish to bake the boule in a Dutch oven.
- Using a Dutch Oven: Continue with the dough recipe until step 3, then follow the basic shaping/baking instructions (steps 2-5) If your parchment paper cannot survive this level of heat, either reduce the oven temperature and bake the bread for a longer period of time, or oil the dutch oven instead.
- Using a pizza stone: If you wish to bake your bread loaves on a pizza stone, place the pizza stone in the oven while it is preheating. Place the formed and scored loaves on a heated pizza stone and bake according to package directions.
- No Nonstick Pan: If you don’t have a nonstick baking sheet, line one with parchment paper instead. Before laying the dough on top, sprinkle with flour and/or cornmeal.Because parchment paper can burn, it’s wise to check the box to determine how much heat it can withstand. Reduce the oven temperature if required and bake the bread for an additional 10 minutes, or until golden brown and sounding hollow when softly tapped.
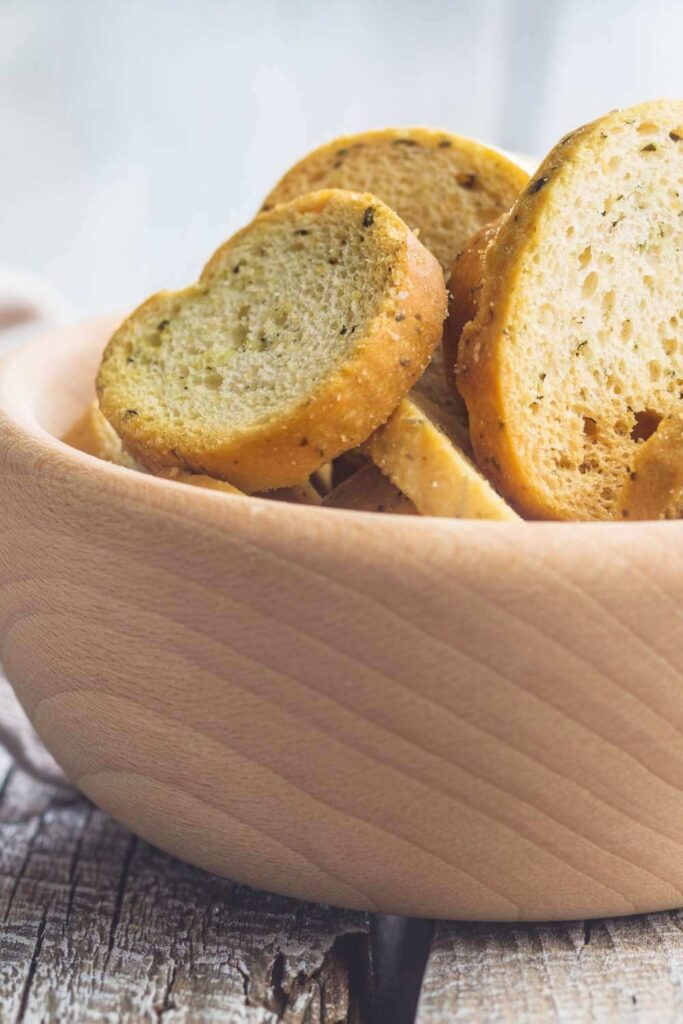
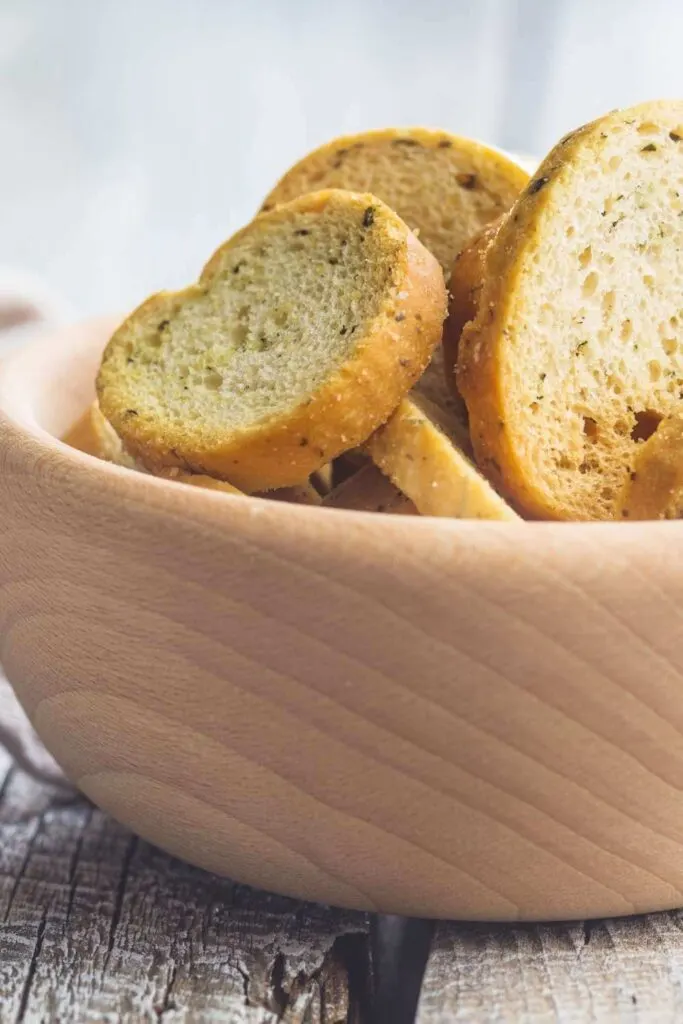
- Ideas for flavors: Add any of the following components/combinations of ingredients to the dry ingredients in the bowl before pouring in the water in step 1: 4 garlic cloves minced + 3 tablespoons chopped rosemary, 3 tablespoons chopped your favorite fresh herb, 1 cup your favorite shredded cheese, a diced jalapeo, 3/4 – 1 cup dried cranberries and/or chopped almonds, 2 teaspoons garlic powder, etc.
What To Serve With Jamie Oliver Crusty Bread?
- Slather with Butterscotch Pie
- Serve alongside Sheet Pan Chicken Fajitas or Sheet Pan Chicken Fajita
- As a dunker for White Chicken Chili Instant Pot or Chicken Enchilada Soup
- With a big bowl of Crock Pot Mac And Cheese
- Use for my Baked Snapper Recipe
How To Store Jamie Oliver Crusty Bread?
- In The Fridge: Your Jamie Oliver Crusty Bread may be stored in the refrigerator for up to 6 days, however, allow it to get to room temperature before slicing it into medium pieces and storing it carefully packed in a container. The Crusty Bread will keep fresher for longer as a result of this.
- In The Freezer: Place your Jamie Oliver Crusty Bread in a big ziplock bag once it has totally cooled, it may be frozen for up to 4 months.
How To Reheat Jamie Oliver Crusty Bread?
In The Oven:
- Make sure your Jamie Oliver Crusty Bread is at room temperature.
- Pre-heat the oven to 250 degrees Fahrenheit.
- Take your Crusty Bread out of the plastic container.
- Place theJamie Oliver Crusty Bread on a baking sheet and in the oven on the middle rack.
- Heat the Bread for about 15 minutes, or until the crust is golden brown.
- Slice your Jamie Oliver Crusty Bread after it has cooled for approximately five to ten minutes.
In The Microwave:
- Place some layers of paper towel on top of your Jamie Oliver Crusty Bread.
- Place it on a microwave-safe plate.
- Set the microwave to medium power.
- Put your Jamie Oliver Crusty Bread in the microwave for about 30 seconds.
- Take it out of the microwave, but put it back if it is not heated enough.
In Air Fryer:
- Set the temperature to 330 degrees F, air fryer setting.
- Warm your Jamie Oliver Crusty Bread until it is hot through, about 4 to 8 minutes.
- After removing your Jamie Oliver Crusty Bread, make sure the middle is fully heated.
FAQ Section
To give the bread a rustic appearance, bakers sprinkle the tops of bread loaves with flour before scoring.
When steam comes into contact with the outer layer (crust), the starches on the surface gelatinize. When this is combined with the heat from the oven, the outer layer hardens and becomes crackly.
To prove yeast, it should be proven and dissolved in warm water around 110-115°.
You may make versions using cheddar cheese, rustic cranberry, orange, or garlic and oregano. Before shaping, knead in 4 ounces chopped strong cheddar cheese, 1 cup dried cranberries, and 4 teaspoons grated orange peel or 1/2 cup liquified garlic (to liquefy, simply add 1/4 cup 2 percent milk, microwave on high for 45 seconds, and discard liquid) and 2 tablespoons minced fresh oregano.

Try More Recipes:
Jamie Oliver Crusty Bread Nutrition Facts
- Calories 68.6g
- Total Fat 0.2g
- Saturated Fat 0.0g
- Cholesterol 0.0mg
- Sodium 204.3mg
- Potassium 20.1mg
- Total Carbohydrate 14.3g
- Dietary Fiber 0.5g
- Sugars 0.0g
- Protein 1.9g
- Vitamin A 0%
- Vitamin C 0%
- Calcium 0.3%
- Iron 1.2%
Nutrition Facts Source: Source


Crusty Bread Recipe Jamie Oliver
Description
Even if you’ve never made homemade bread or worked with yeast before, Jamie Oliver’s crusty bread recipe is for you. It’s the ideal beginner recipe because it only requires four ingredients, no special pans or mixer, no kneading or complicated shaping, and 95 percent of the work is done by machine.
Ingredients
Instructions
- Whisk together the flour, yeast, and salt in a large un-greased mixing basin. Pour in the chilly water and stir gently with a rubber spatula or wooden spoon. The dough will appear dry and shaggy at first but continue to mix it until all of the flour is soaked. If necessary, work the dough components together with your hands. The dough will be quite sticky. Form a ball in the bowl as best you can.
- Cover the dough securely with plastic wrap or aluminum foil and place it on the counter to cool (any regular room temperature will suffice!). Allow for a 2-3 hour rising time. The dough will nearly double in size, adhere to the edges of the basin, and be brimming with air bubbles.
- You can proceed to step 4 right away, but for the greatest flavor and texture, let this rising dough rest in the refrigerator for at least 12 hours and up to 3 days. Refrigerate the dough, covered, for 12 hours to 3 days. I normally leave it in the fridge for approximately 18 hours. During this time, the dough will bubble up, although it may begin to deflate after 2 days. That’s perfectly normal and nothing to be concerned about.
- Lightly flour and/or cornmeal on a big nonstick baking sheet (with or without rims, but make sure it’s nonstick). Place the chilled dough on a floured work surface. Cut the dough in half using a sharp knife or bench scraper. As you work with it, some air bubbles will collapse. Place the dough halves on the baking sheet that has been prepared. Shape the dough into two long loaves approximately 9 inches long (they don’t have to be precise) and 3 inches apart, using floured hands. Allow resting for 45 minutes after loosely covering. The dough will be baked on this prepared baking sheet. If you wish to use a pizza stone, see the recipe note.
- Preheat the oven to 475°F (246°C) throughout this 45-minute period.
- When ready to bake, score the bread loaves with three slashes, about 1 inch apart, using a very sharp knife or bread lame (some even use kitchen scissors).When ready to bake, score the bread loaves with three slashes approximately 1/2 inch deep with a very sharp knife or bread lame (some even use kitchen shears). (“Score” refers to a shallow incision.) If the formed loaves smoothed out during the 45-minute baking time, use greased hands to re-narrow them along the sides.
- Optional extras for a slightly crispier crust: After preheating the oven and scoring the bread, set a shallow metal or cast iron baking pan or skillet on the lowest oven rack (I generally use a metal 913 baking pan). Pour 3-4 cups of hot water into it carefully and rapidly. Place the scored dough/baking pan on a higher rack and close the oven fast to trap the steam within. The steam aids in the formation of a crisper crust.
- Place the shaped and scored dough (on the flour/cornmeal-dusted pan) on the center rack of a preheated oven. Bake the crust for 20-25 minutes, or until golden brown. Tap the loaves gently– if they sound hollow, the bread is done.
- Allow the bread to cool for at least 5 minutes before slicing and serving. Leftovers can be kept at room temperature for up to 5 days or refrigerated for up to 10 days.
Notes
- Flour: strongly recommend using bread flour for the finest taste and chewy texture. In a pinch, you may use a 1:1 substitute of all-purpose flour with no further adjustments to the recipe. In this dough, I recommend eliminating whole wheat flour. Use half bread flour and half whole wheat flour if necessary. The bread will have a thick flavor.
- Yeast: You may use either instant or active dry yeast, although I suggest instant (also known as “fast rise” or “quick rise” yeast). The bread will rise more quickly. I normally use Red Star Platinum yeast, which is instant yeast. 2 teaspoons equals around half a standard packet. There are no adjustments to the recipe if you use active dry yeast. The increase in Step 2’s rising time may be longer.
- Salt: In this bread, use coarse salt, such as coarse sea salt. When I use standard table fine salt, I find the flavor to be slightly missing. Reduce to 1 and 1/2 teaspoons if you only have fine salt.
- Water: Cool water should be used. 70°F (21°C) is ideal, although the precise temperature is unimportant as long as it is neither hot nor heated.
- Round Loaf: If you wish to make a boule (round loaf), simply form the dough into a round ball instead of two loaves in step 4. The baking methods are the same, however, the loaf will take a few minutes longer to bake. See the following section if you wish to bake the boule in a Dutch oven.
- Using a Dutch Oven: Continue with the dough recipe until step 3, then follow the basic shaping/baking instructions (steps 2-5) If your parchment paper cannot survive this level of heat, either reduce the oven temperature and bake the bread for a longer period of time or oil the dutch oven instead.
- Using a pizza stone: If you wish to bake your bread loaves on a pizza stone, place the pizza stone in the oven while it is preheating. Place the formed and scored loaves on a heated pizza stone and bake according to package directions.
- No Nonstick Pan: If you don’t have a nonstick baking sheet, line one with parchment paper instead. Before laying the dough on top, sprinkle with flour and/or cornmeal. Because parchment paper can burn, it’s wise to check the box to determine how much heat it can withstand. Reduce the oven temperature if required and bake the bread for an additional 10 minutes, or until golden brown and sounding hollow when softly tapped.
- Ideas for flavors: Add any of the following components/combinations of ingredients to the dry ingredients in the bowl before pouring in the water in step 1: 4 garlic cloves minced + 3 tablespoons chopped rosemary, 3 tablespoons chopped your favorite fresh herb, 1 cup your favorite shredded cheese, a diced jalapeno, 3/4 – 1 cup dried cranberries and/or chopped almonds, 2 teaspoons garlic powder, etc.
Serving Size 8
Servings 8
- Amount Per Serving
- Calories 68.8
- % Daily Value *
- Total Fat 0.2g1%
- Saturated Fat 0.0g0%
- Cholesterol 0.0mg0%
- Sodium 204.3mg9%
- Potassium 20.1mg1%
- Total Carbohydrate 14.3g5%
- Dietary Fiber 0.5g2%
- Sugars 0.0g
- Protein 1.9g4%
- Vitamin A 0.0 IU
- Vitamin C 0.0 mg
- Calcium 0.3 mg
- Iron -1 mg
* Percent Daily Values are based on a 2,000 calorie diet. Your daily value may be higher or lower depending on your calorie needs.